⚙️ Installation Helper
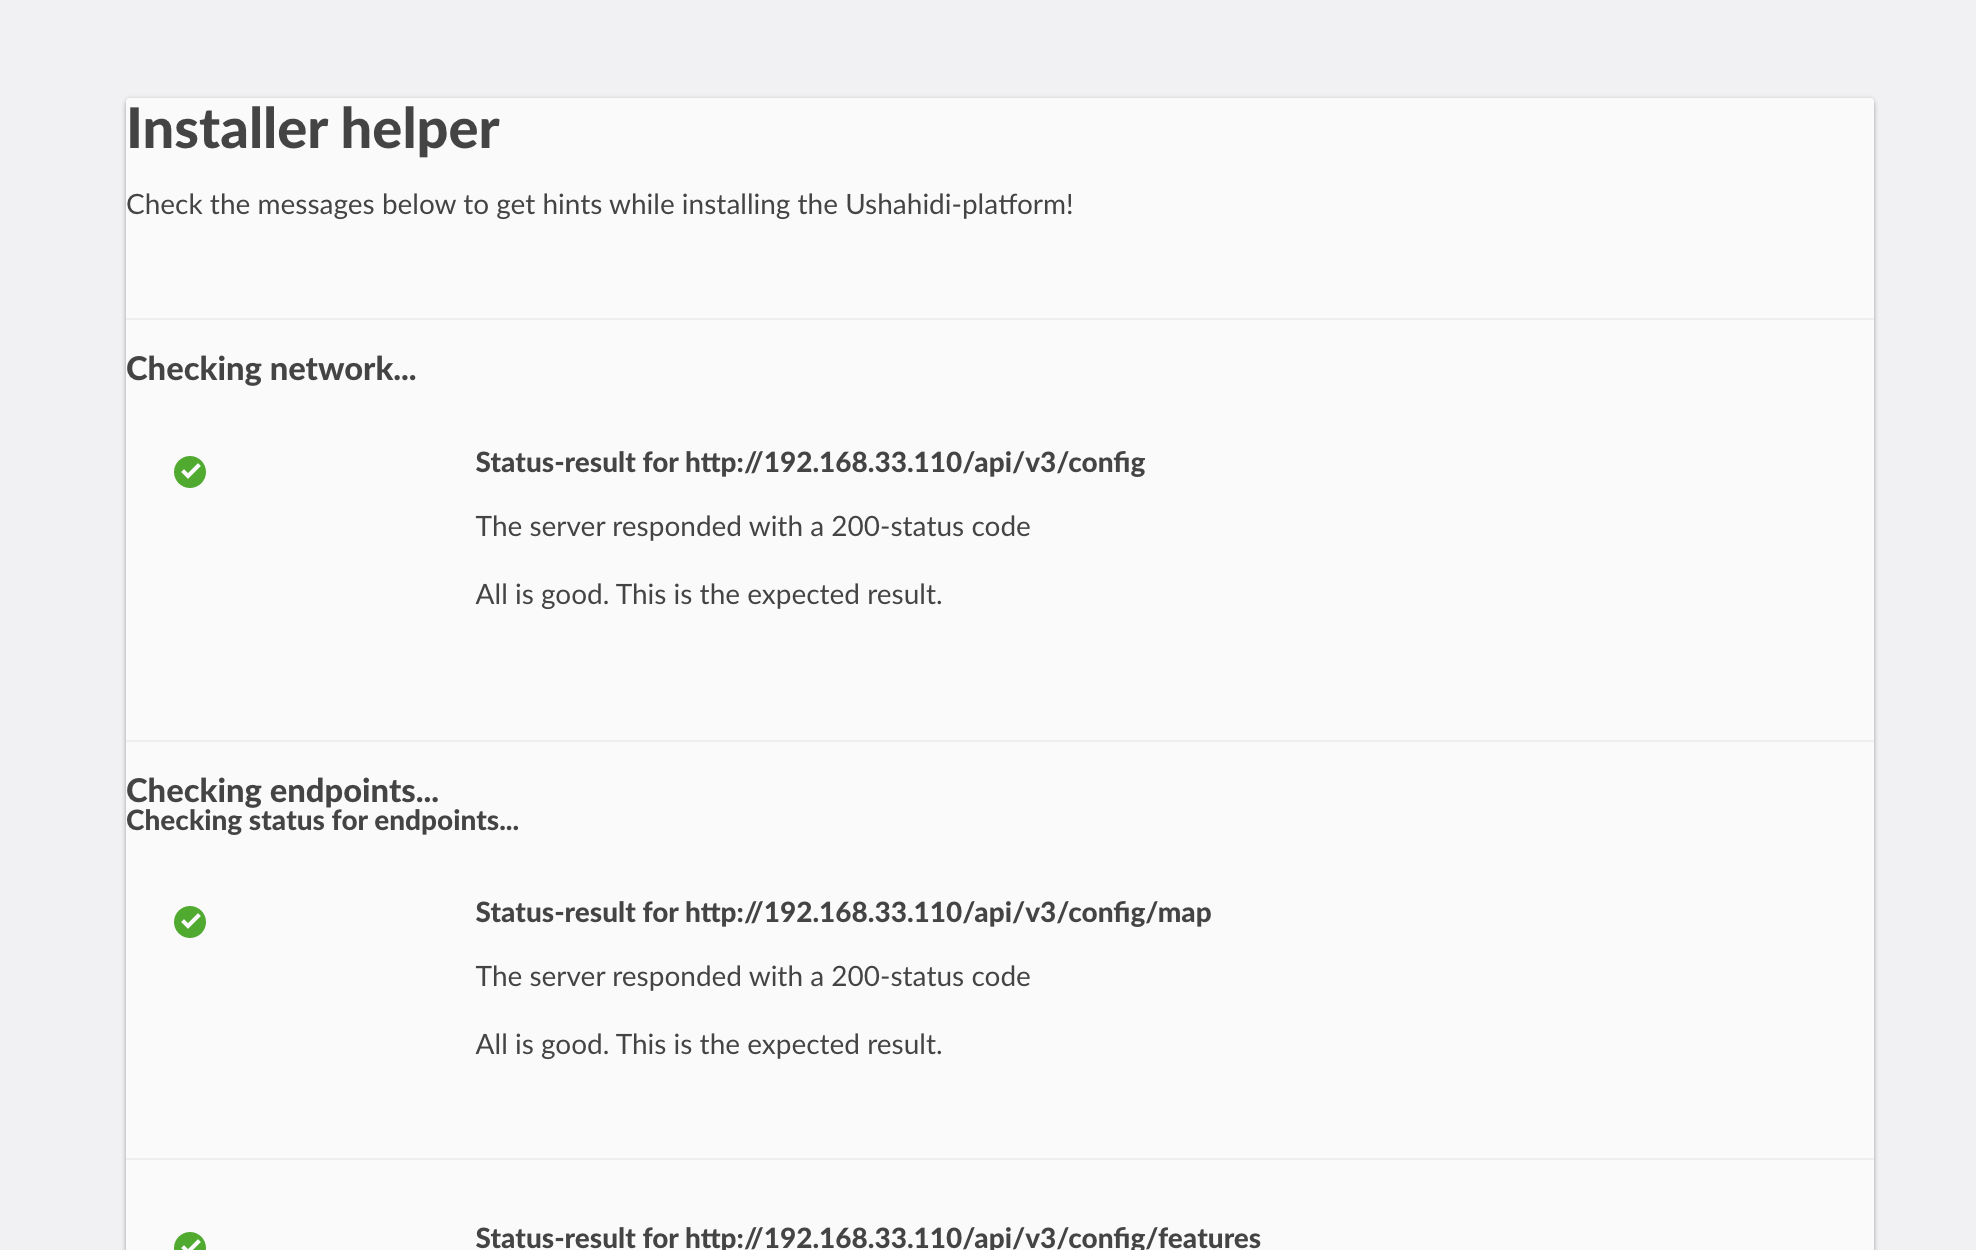
We are introducing a new feature to make it easier for open source deployers to identify and solve common problems during the installation process. To achieve this goal, the Ushahidi Platform now bundles an installation helper utility that can be used to gain information about the state of the installation.
Overview
The installation helper is included in the web application (Platform client) repository. You can find it in the develop branch. The helper works by performing a series of checks and showing the results back. The checks it performs cover both the Platform client and the Platform API.
Please see below for instructions on how to use this handy little tool.
For general users
If you have installed a release of the Ushahidi Platform that contains the installation helper, you should be able to access the helper from your browser.
To access the verifier:
Open a terminal window
Make sure you are in the same folder as the platform-client code
Make sure you are in the
developbranchRun :
gulp dev:verifierthen add
/verifierafter the main URL address of your deployment.
For instance, if the address of your deployment is https://ushahidi.example.com , the helper will be available at this address: https://ushahidi.example.com**/verifier**

For developers
Developers and advanced users that work with the source code, have an additional method for invoking the helper.
The requirements for this are having the Platform client source code downloaded, as well as the associated necessary development tools installed. The following guide can walk you through how to do that:
[Client] Setting up the Platform Client for developmentOnce you are set up with this, the installer helper becomes available to you, both as the method described above and in the command-line:
Command-line
Open a terminal-window, navigate to the folder where your platform-client code is, make sure you are in the develop -branch and run:
After doing this, the installation-helper runs checks and displays the results in the command-line. If there are any errors, the helper displays hints on how to solve the problem.
The installation-helper runs the same checks as in the browser, but displays the result in the terminal window.
Security sensitive checks: API Installation Debug Mode
Although the installation helper is a client-side utility, it is able to direct some of its tests towards the Platform API, using network connections.
Some of those API-side tests may reveal security sensitive information about the internals of the service, and for that reason are not enabled by default. On your first run of the helper, you will probably see messages similar to this one:

What this means is that in order for the helper to run those tests, the "Installation Debug" mode needs to be enabled on the API-side. In order to do that, you'd need to
Open your terminal window
Connect to the server where you have the Platform API installed (if it's not your local workstation)
Change your current directory to the directory where the Platform API was downloaded or unpacked. The directory must contain a
composer.jsonfile.Make sure you are in the
developbranchRun the following command:
If the command above successfully completes, you may run the Installation Helper checks again and see that the disabled checks are now running.
Once all the checks are completing successfully, it is highly recommended that you disable the "Installation Debug" mode with the command:
In that way, sensitive information about your installed Platform API service won't be available to the public.